 Shadowrocket
Guide
Add a subscription, set routing, and connect
The images below are from the App Store product page: Home, add server, Type, Config, and Data as you will see them after install. Not a generic VPN blob, and not a shield.
Screenshots: Apple App Store · Shadowrocket product page
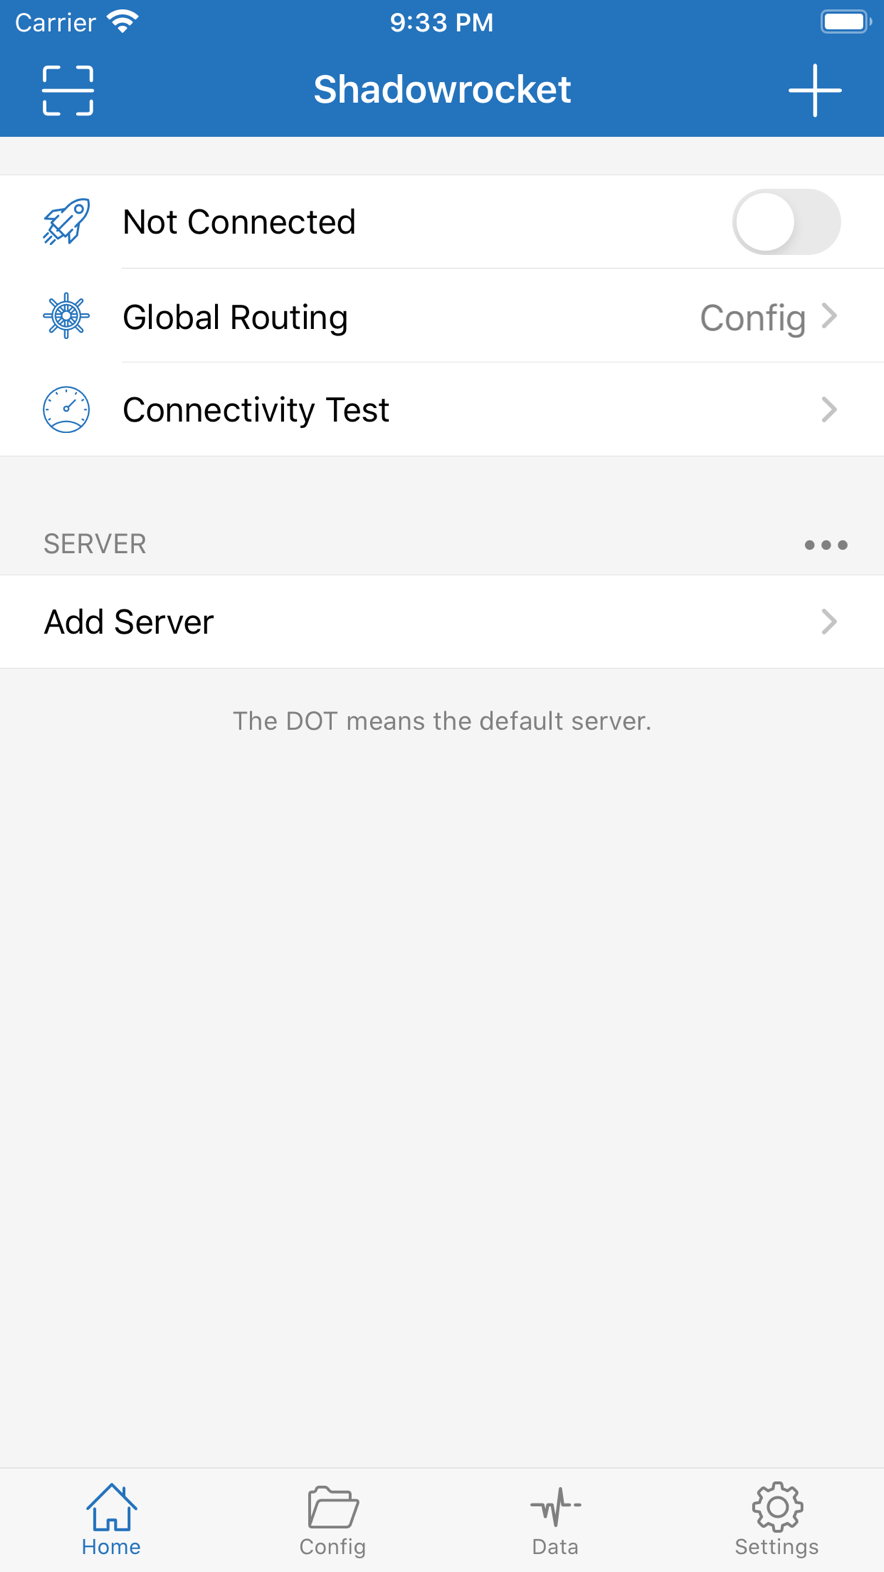
Learn Home first, then tap plus at the top right
After launch the top bar is blue and says Shadowrocket. Scan is on the left, “+” on the right. The three middle rows are the connect switch, Global Routing, and Connectivity Test. SERVER below is empty. That is normal.
- Confirm the four tabs at the bottom: Home, Config, Data, Settings. Daily node adds all happen on Home.
- Leave the switch next to “Not Connected” off for now. With no server, turning it on does nothing useful.
- To add a subscription or a node, tap “+” at the top right, or tap Add Server under SERVER.
- The box at the top left scans a QR code. A node code someone shared can come in here.
The line in the shot, “The DOT means the default server,” means: after the list has nodes, the dot on the left is the default.
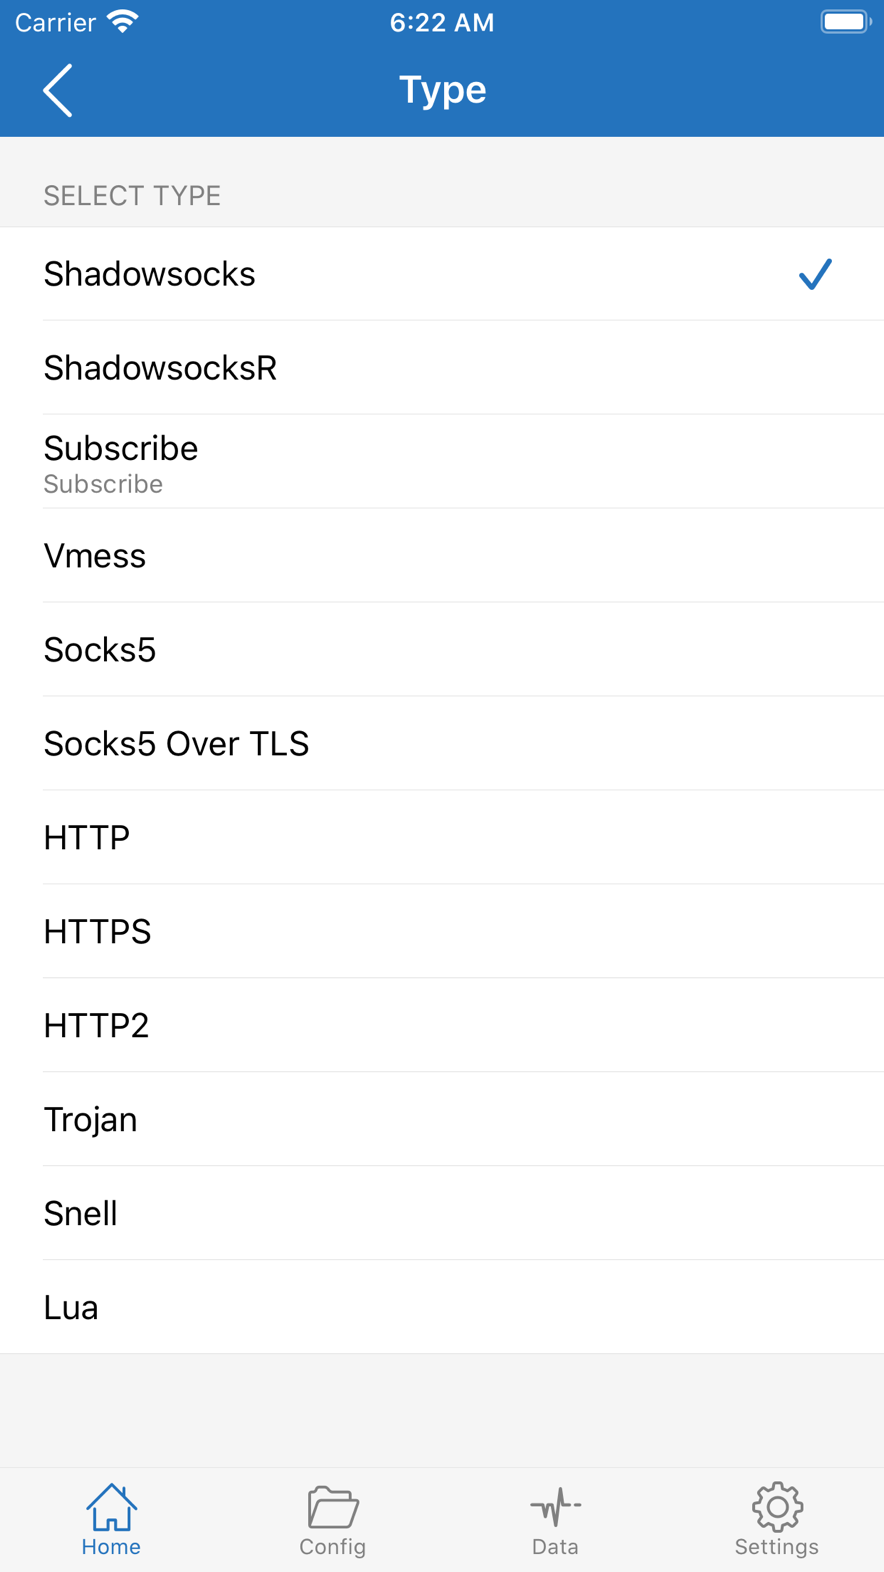
Set Type to Subscribe. Do not type it as one Shadowsocks server.
After “+”, pick Type first. The official list has Shadowsocks, Vmess, Trojan, and Subscribe. If you have a subscription URL, Type must be Subscribe. Get it wrong and the app treats the whole URL as one host. Update will not produce a node list.
- Open Type and tap Subscribe.
- Back on the add screen, paste the full subscription URL into the address field.
- Remark is for you, such as “Daily.”
- Tap Done at the top right, then go back to Home and update the subscription.
Only when you have a single node and no subscription should you pick Shadowsocks / Vmess / Trojan as given, then fill Host, Port, and Password.
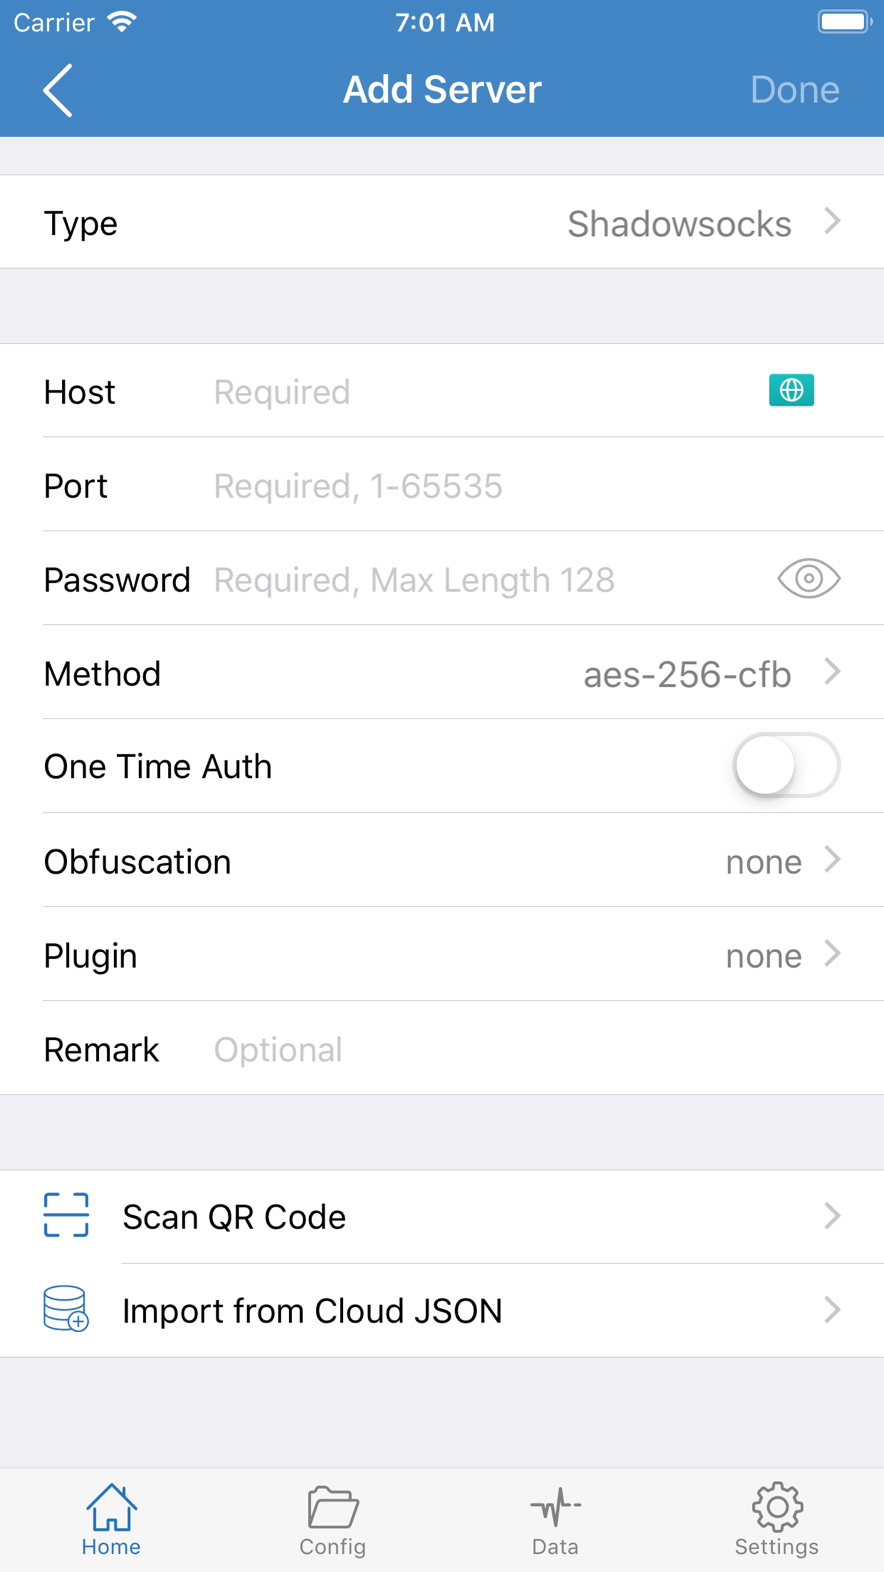
When you type a node, copy this screen
Use this form when you have no subscription and only one config. Get Type right first, then fill Host, Port, and Password. Method, obfuscation, and plugins follow what you were given. Do not guess aes-256-cfb.
- Scan QR Code: scan a node code with the camera.
- Import from Cloud JSON: import from a file or iCloud Drive.
- Plugin defaults to none. Leave it unless you were told to change it.
Rules live in Config, not in the subscription
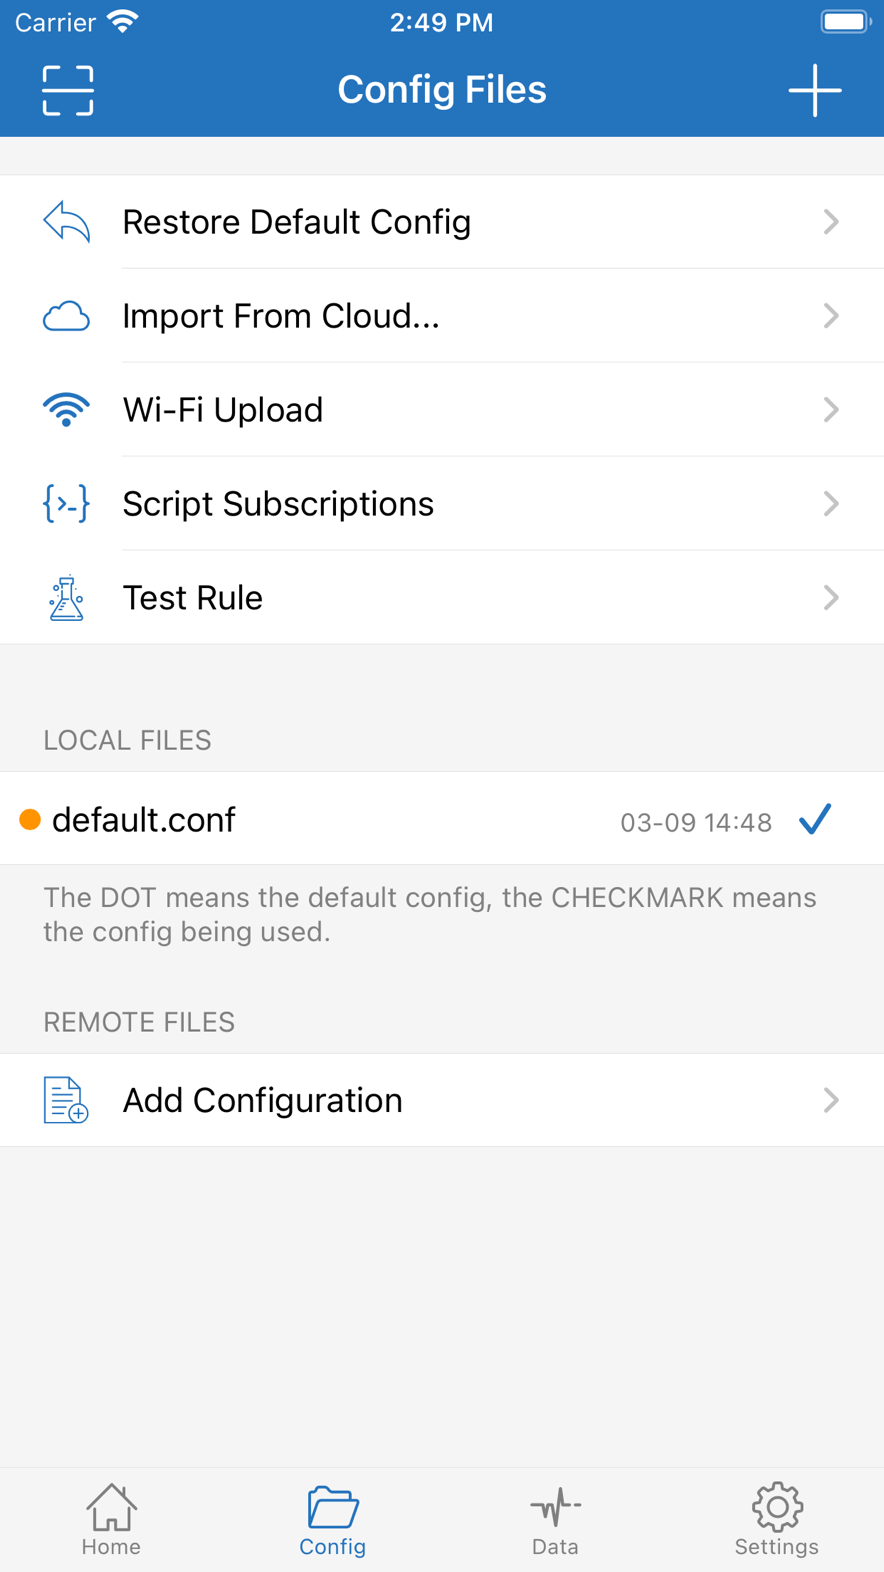
The second tab is Config Files. It holds routing config, not the node list. default.conf under LOCAL FILES is the copy in use. The dot on the left is the default; the checkmark on the right is the one active now.
- Switch to Config.
- Under REMOTE FILES, Add Configuration can import a remote rule file.
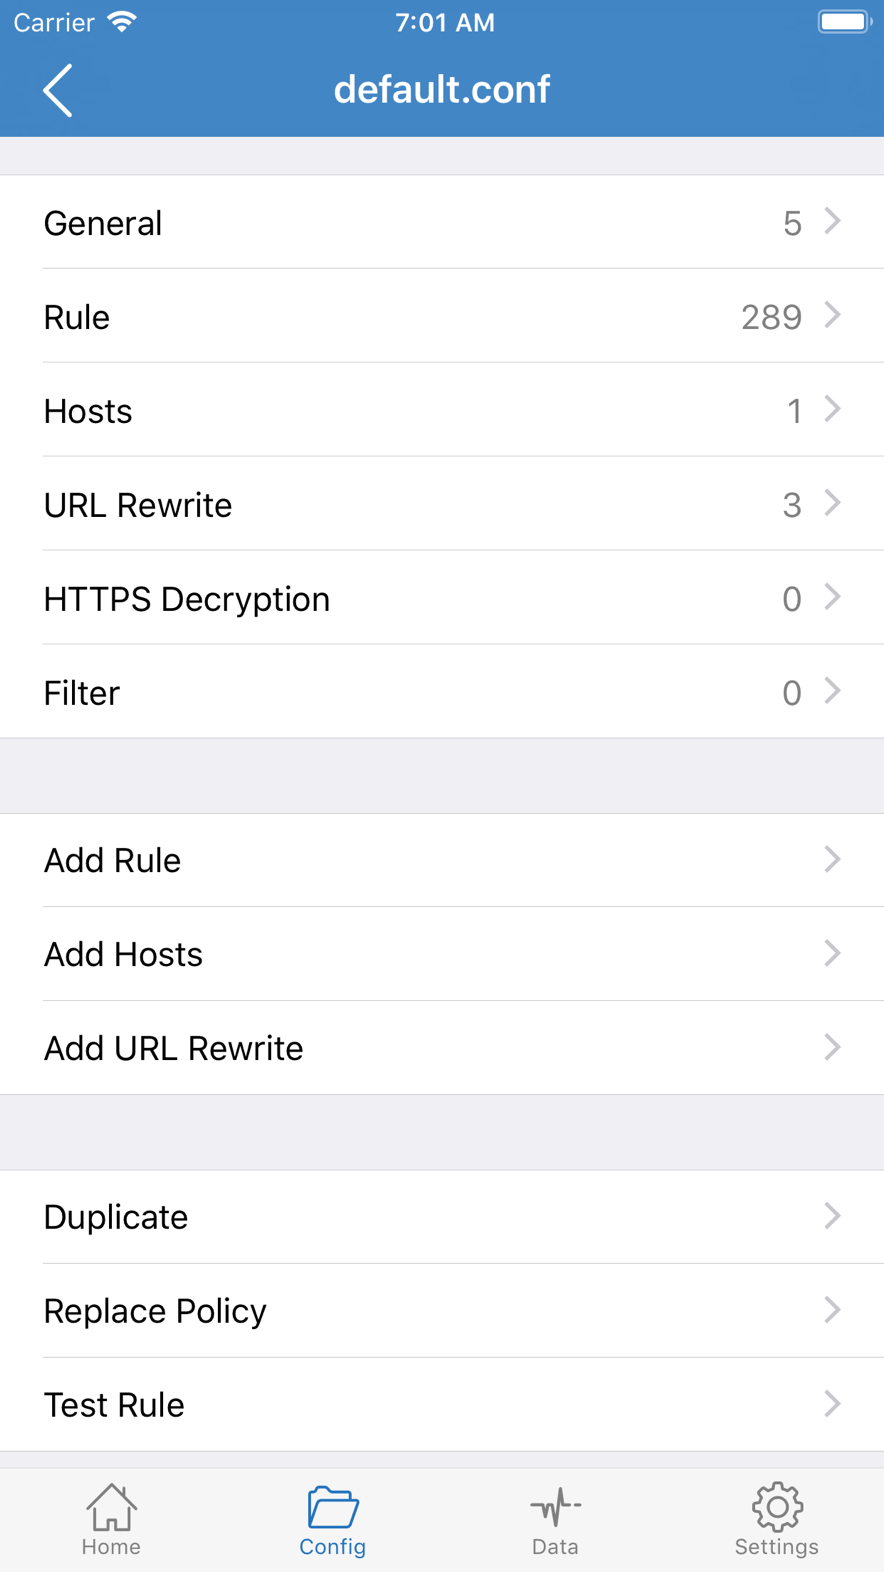
- Open default.conf to see how many Rule, Hosts, and URL Rewrite lines you have.
- Daily use is rule-based routing. Global Routing is only for troubleshooting.
Test Rule shows whether a domain goes PROXY or DIRECT. If you are connected but some sites are wrong, come here first. Do not reinstall.
After you open the config, look at the Rule count first
Open the config in use and you will see counts for General, Rule, Hosts, and more. Rule is the routing body. Add Rule adds one line. Test Rule verifies. If you are unsure, do not stack many remote files at once.
- PROXY: use the node you selected
- DIRECT: skip the node
- REJECT: drop it
Back on Home, flip that row’s switch
When the node and the rules are ready, return to Home, tap a row in the list, then flip the switch next to “Not Connected.” The first time, iOS asks to add a VPN configuration. Allow it with Face ID or the passcode. After that, the row says connected and the status bar shows VPN.
- Select a node first, then flip the switch.
- When the VPN configuration prompt appears, tap Allow. If you denied it, add it in system Settings.
- Open a site that should use the proxy in the browser to confirm.
- If local sites suddenly get slow, keep Global Routing on Config. Do not switch it to global.
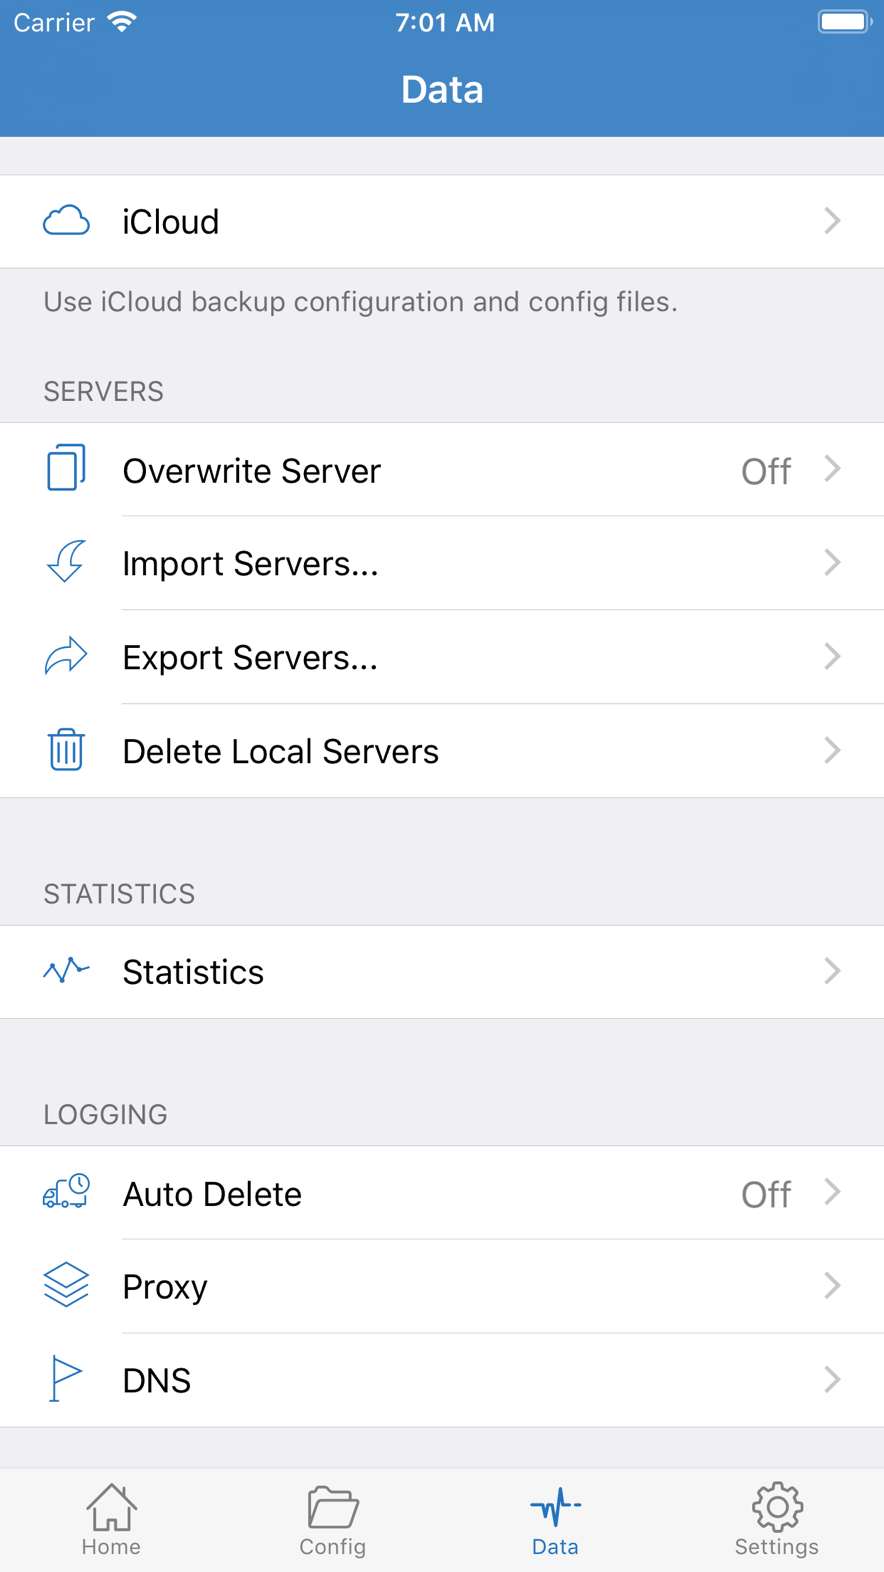
Before you switch phones, export from Data
The third tab, Data, has iCloud, import and export servers, stats, and logs. Before a new iPhone, do at least one: Export Servers, or turn on iCloud backup. Reinstalling the app alone will not bring nodes back.
- iCloud: back up config and files to iCloud.
- Export Servers / Import Servers: move between two devices.
- Delete Local Servers: clears nodes on this device. Confirm you already exported before you tap it.